Thank you for reading my blog posts, I am no longer publishing new content on this platform. You can find my latest content on either mainawycliffe.dev or All Things Typescript Newsletter (✉️)
This a step by step guide of setting up Angular CLI. Angular CLI is a first-party CLI tool that helps developers to create, build and deploy applications among other things. It makes the process of building Angular apps easier by handling the most repetitive tasks on your behalf. This allows you to concentrate on building your application rather than setting up webpack among other things.
Prerequisites
- NodeJS and NPM – To install Angular CLI, we are going to need both NodeJS and NPM installed in our system. The process varies in different OSs, but you can find the instructions on how to install NodeJS here. NPM is bundled with NodeJS, so you don’t have to worry about that.
Once you have NodeJS installed, you can verify whether it’s working by running
node -von your CLI/Terminal application. This should echo the version of NodeJS you just installed. You can do the same with NPM -node -v- which should echo the version of NPM installed on your system.
Installing Angular CLI
Next, let’s install Angular CLI globally using NPM.
npm install -g @angular/cli
Once the process is done, you can verify if Angular CLI was installed successfully by running ng version command. This should output the version of Angular CLI, NodeJS and Operating System, as shown below.
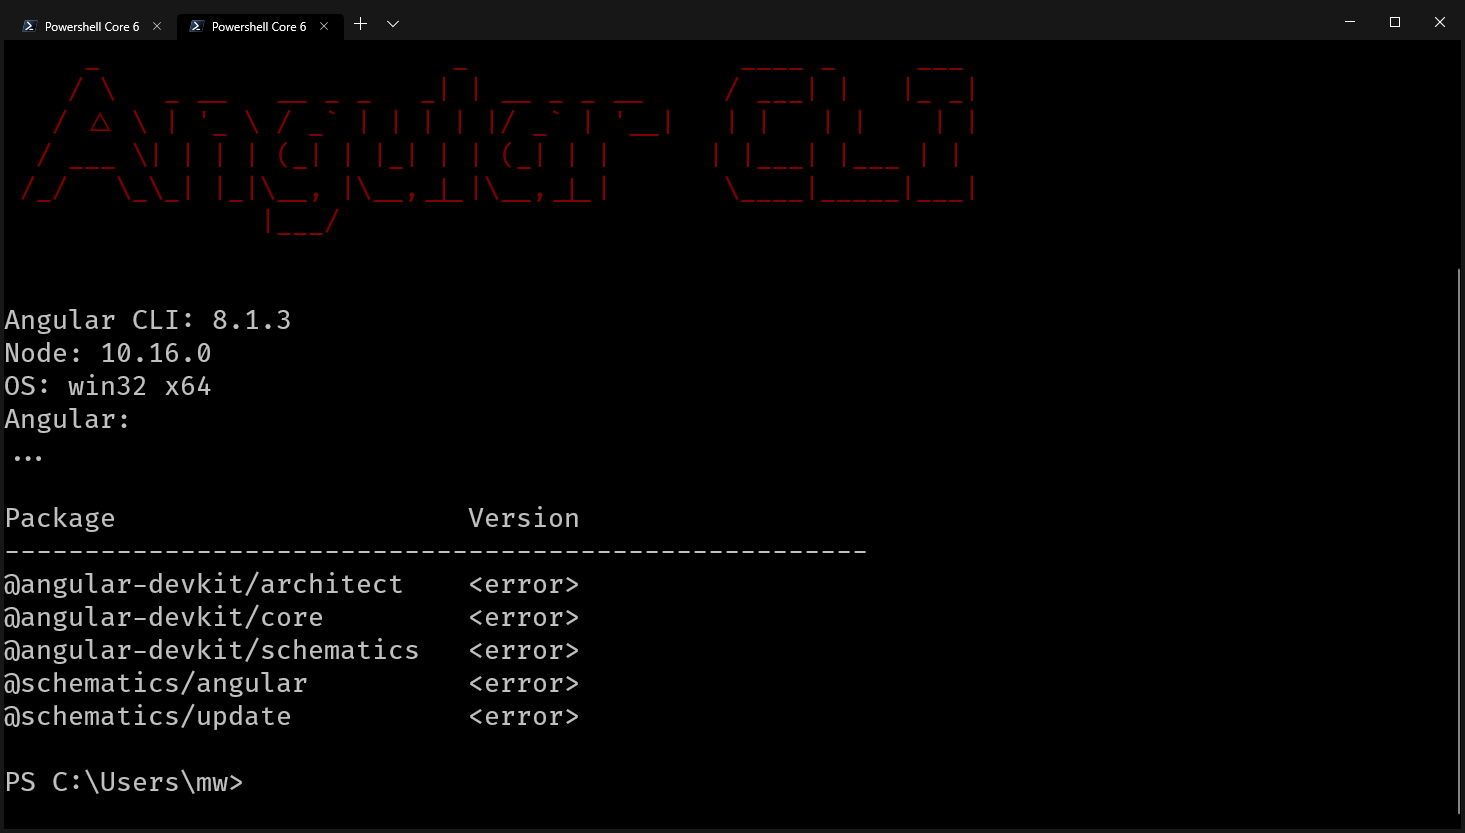
NB: Since you are not inside an Angular Project, the version of the package will return errors. Don’t panic, it’s normal.
Create a New Angular Project
Next, let’s create a new Angular application using Angular CLI. You do this by running ng new command:
ng new project-name
After you run that application, you will be prompted for two things:
Whether you want to enable routing – this will setup Angular powerful router for you.
Which stylesheet you would like to use for your project –
CSS,SCSS, etc.
NB: You can choose the defaults and change them later as your application requirement evolves using Angular CLI.
Once the above process of scaffolding a new application is complete, switch to the directory and run the scaffolded application, using ng serve.
cd project-name
ng serve
You can view the web app on your browser by accessing localhost on port 4200 – http://localhost:4200.